4

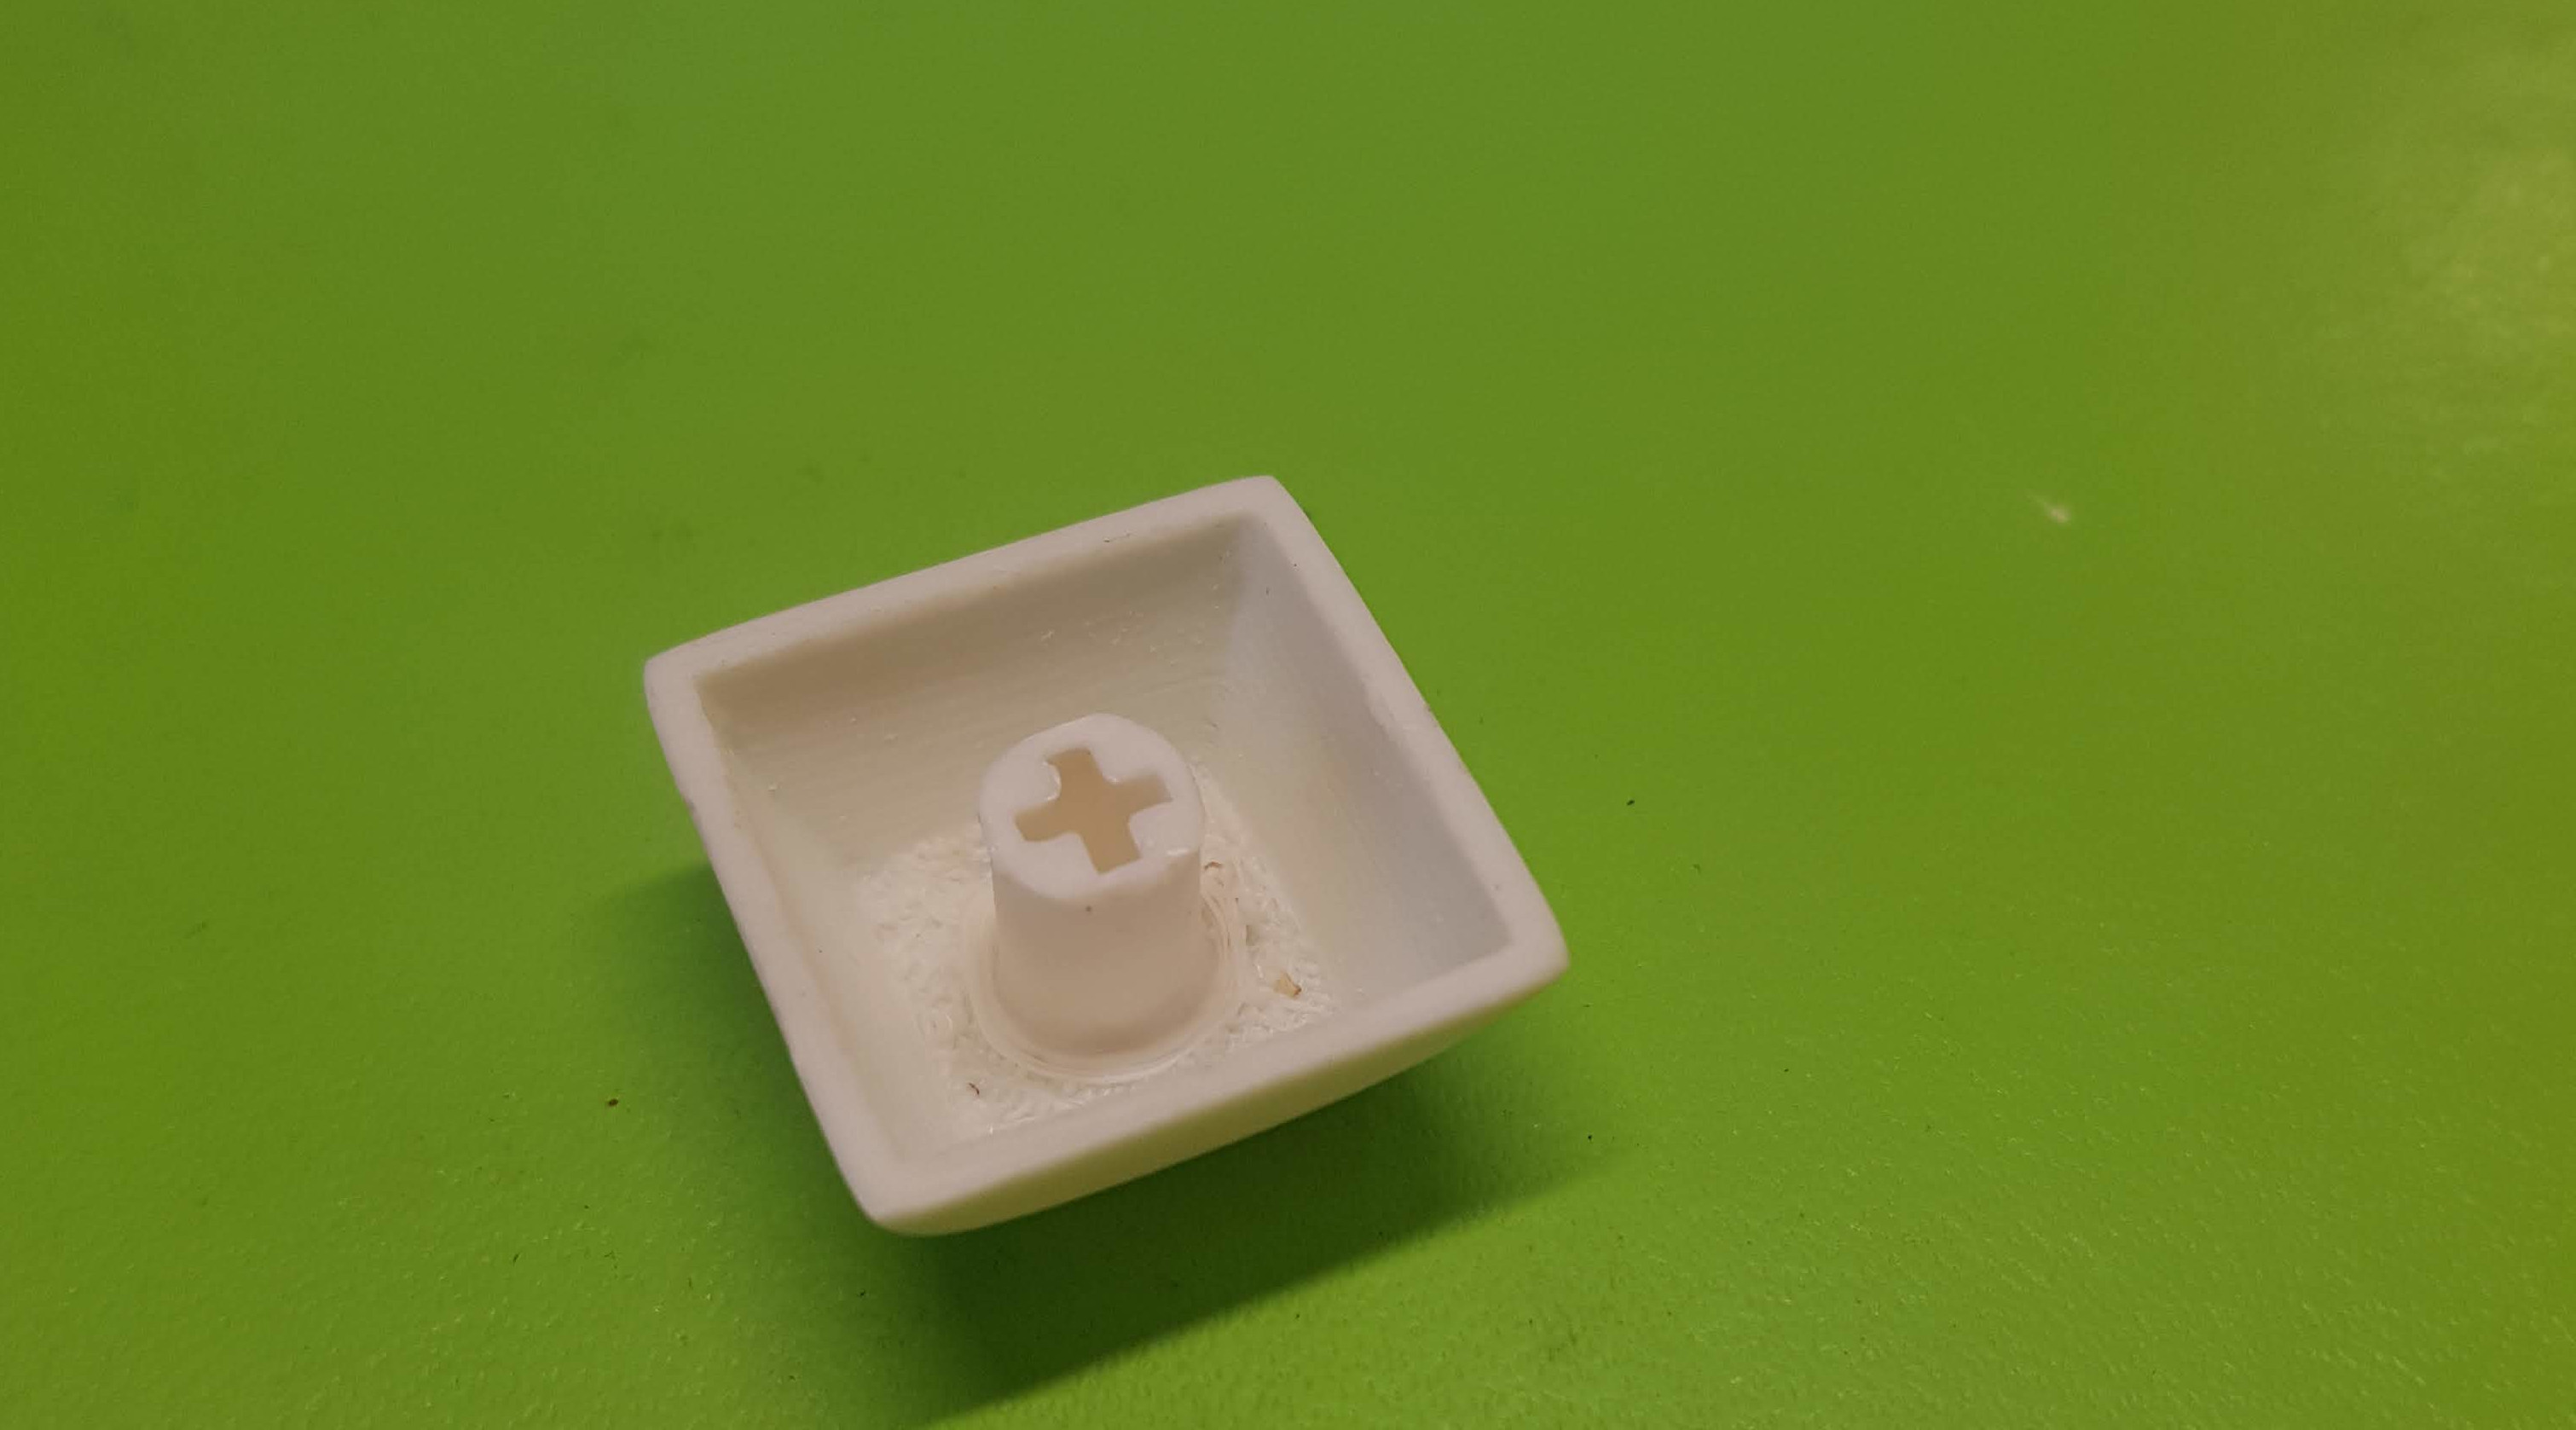
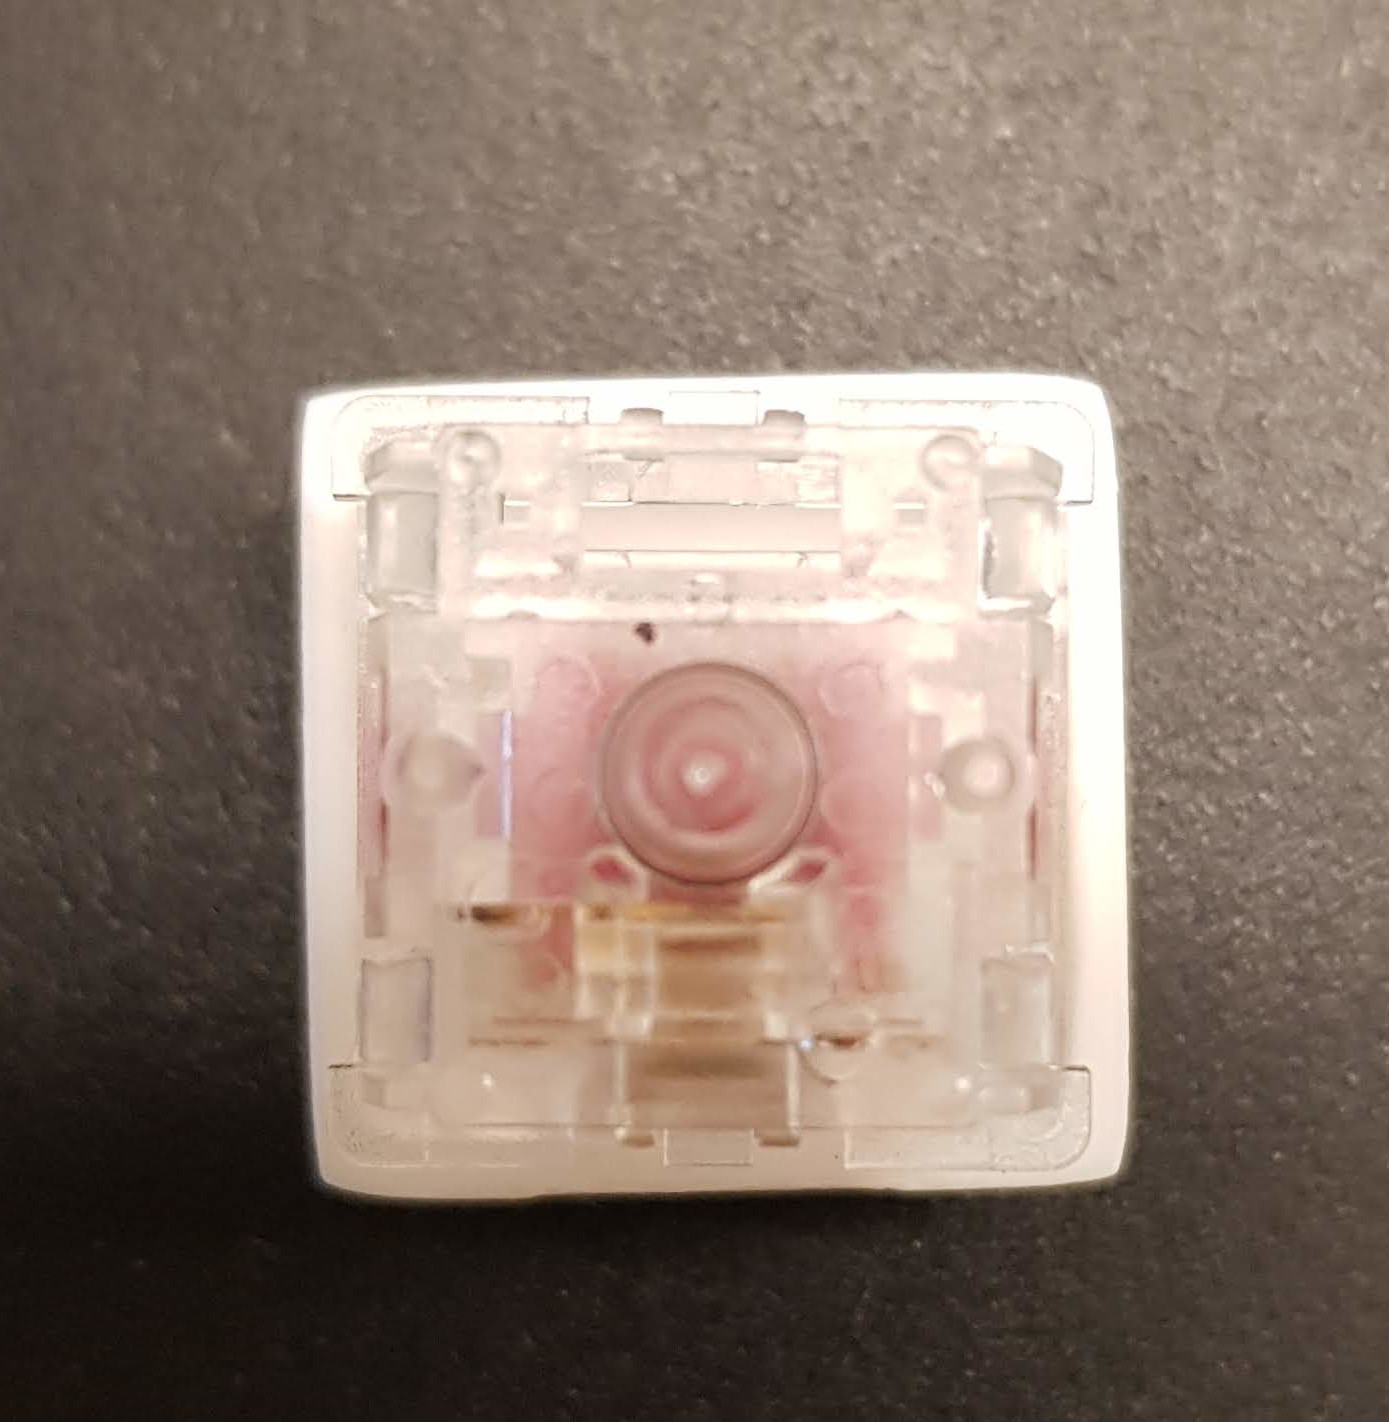
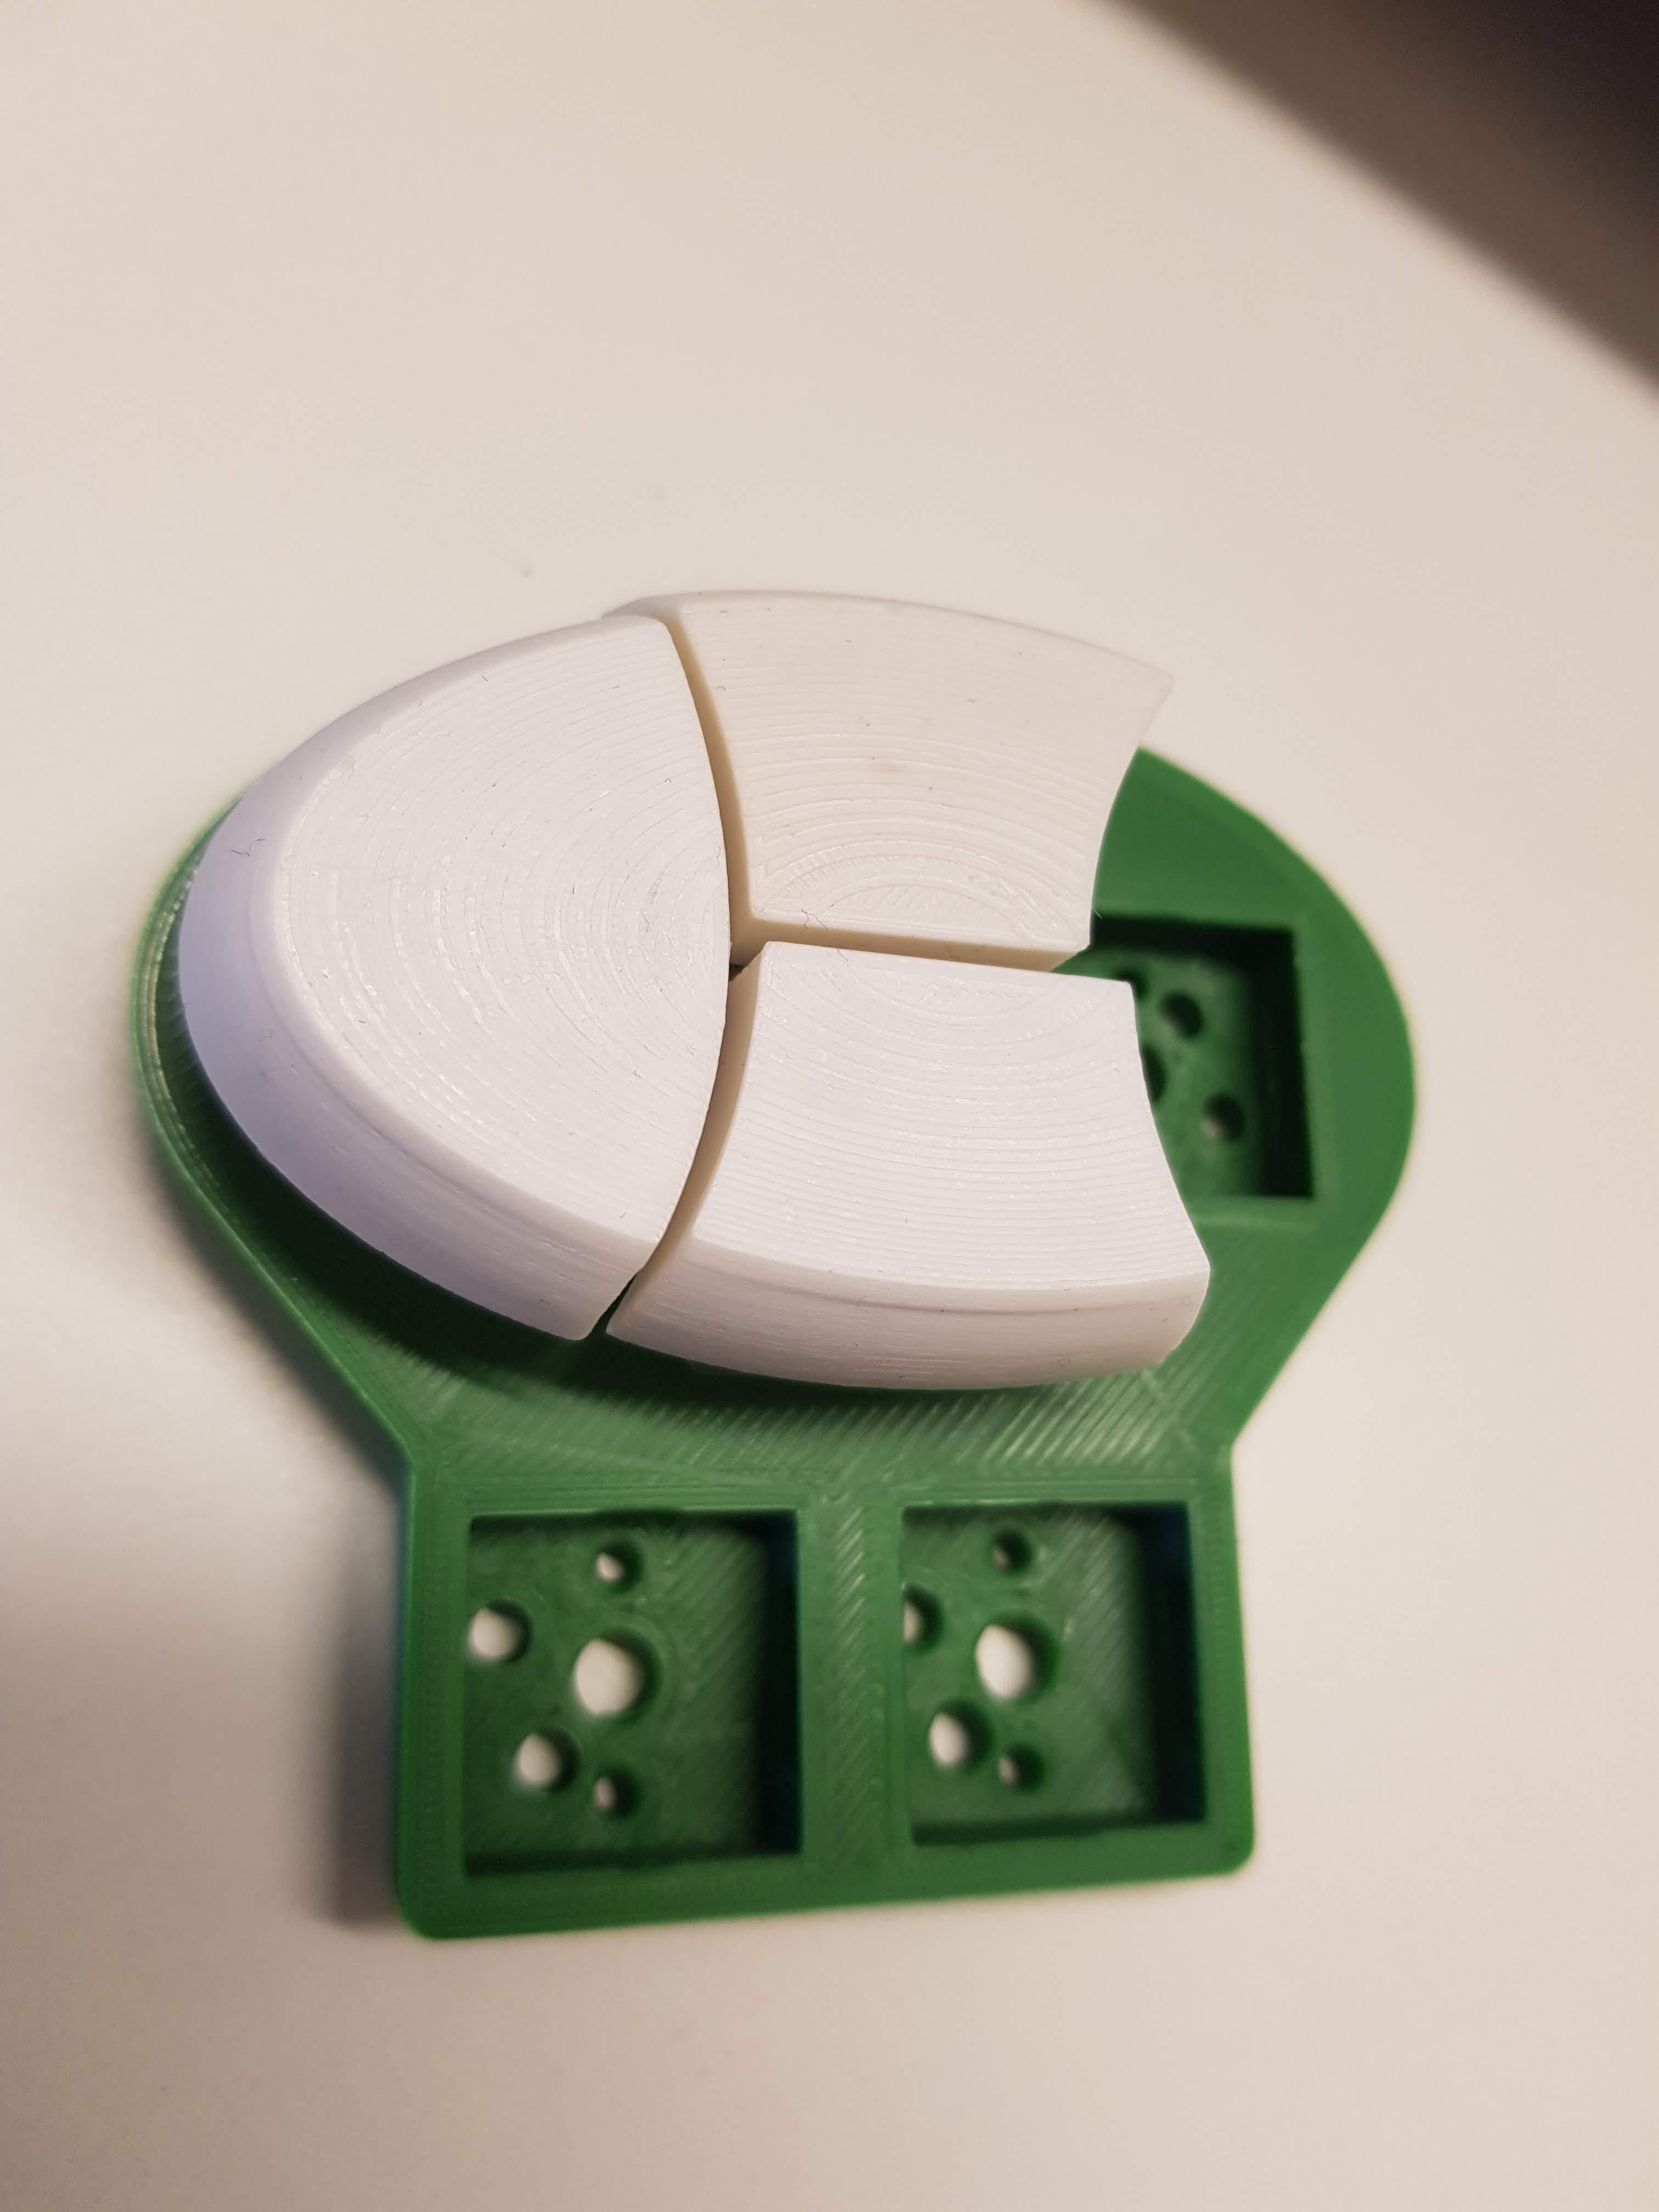
My model is a keycap for mechanical keyboards. There is the cap itself, and a stem with a hole in the form of a cross, which fits the switches themselves.

Print at bottom, the other caps are reference

Bottom view

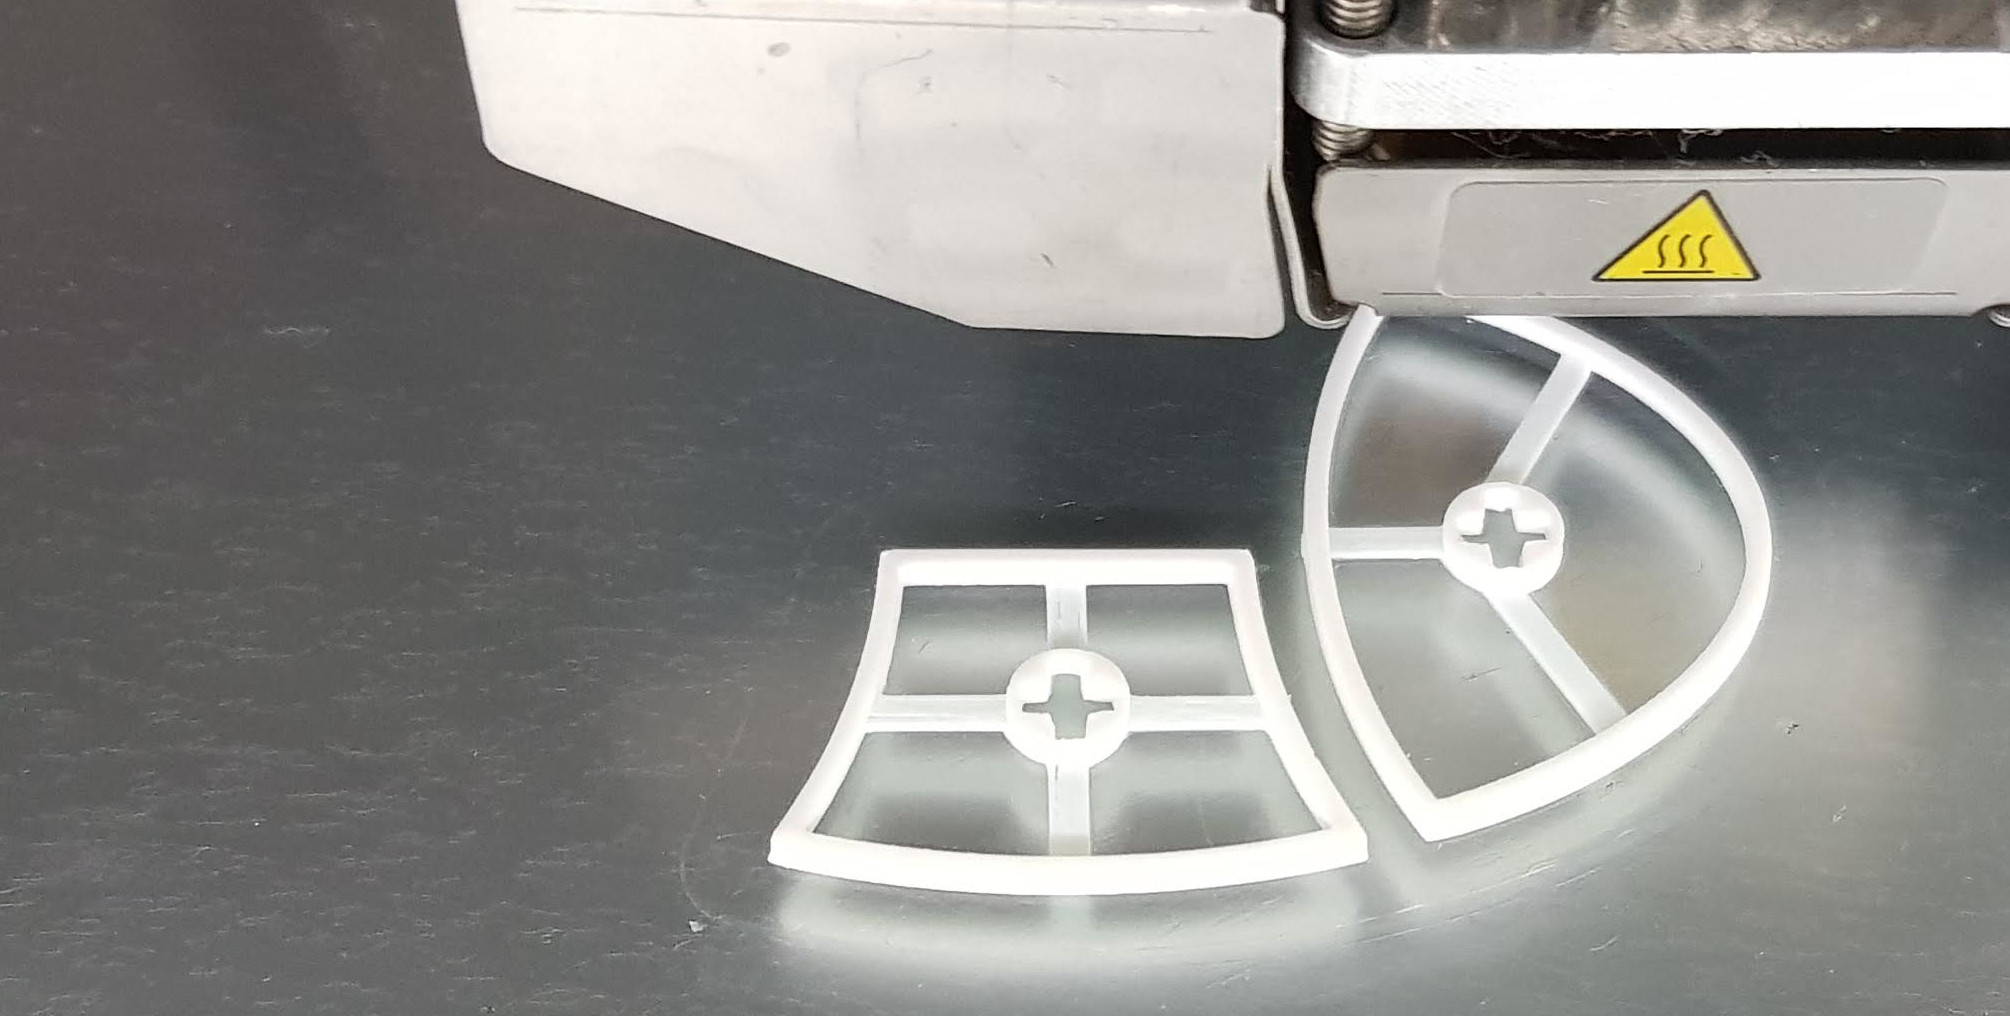
I print in the same position as it is intended to be used, top up. This means that the stem and the cap are not connected until quite a few print layers.

To prevent the stem from falling off during the print (it has a small footprint), I created connectors in the first layers, to hold it in place. enter image description here

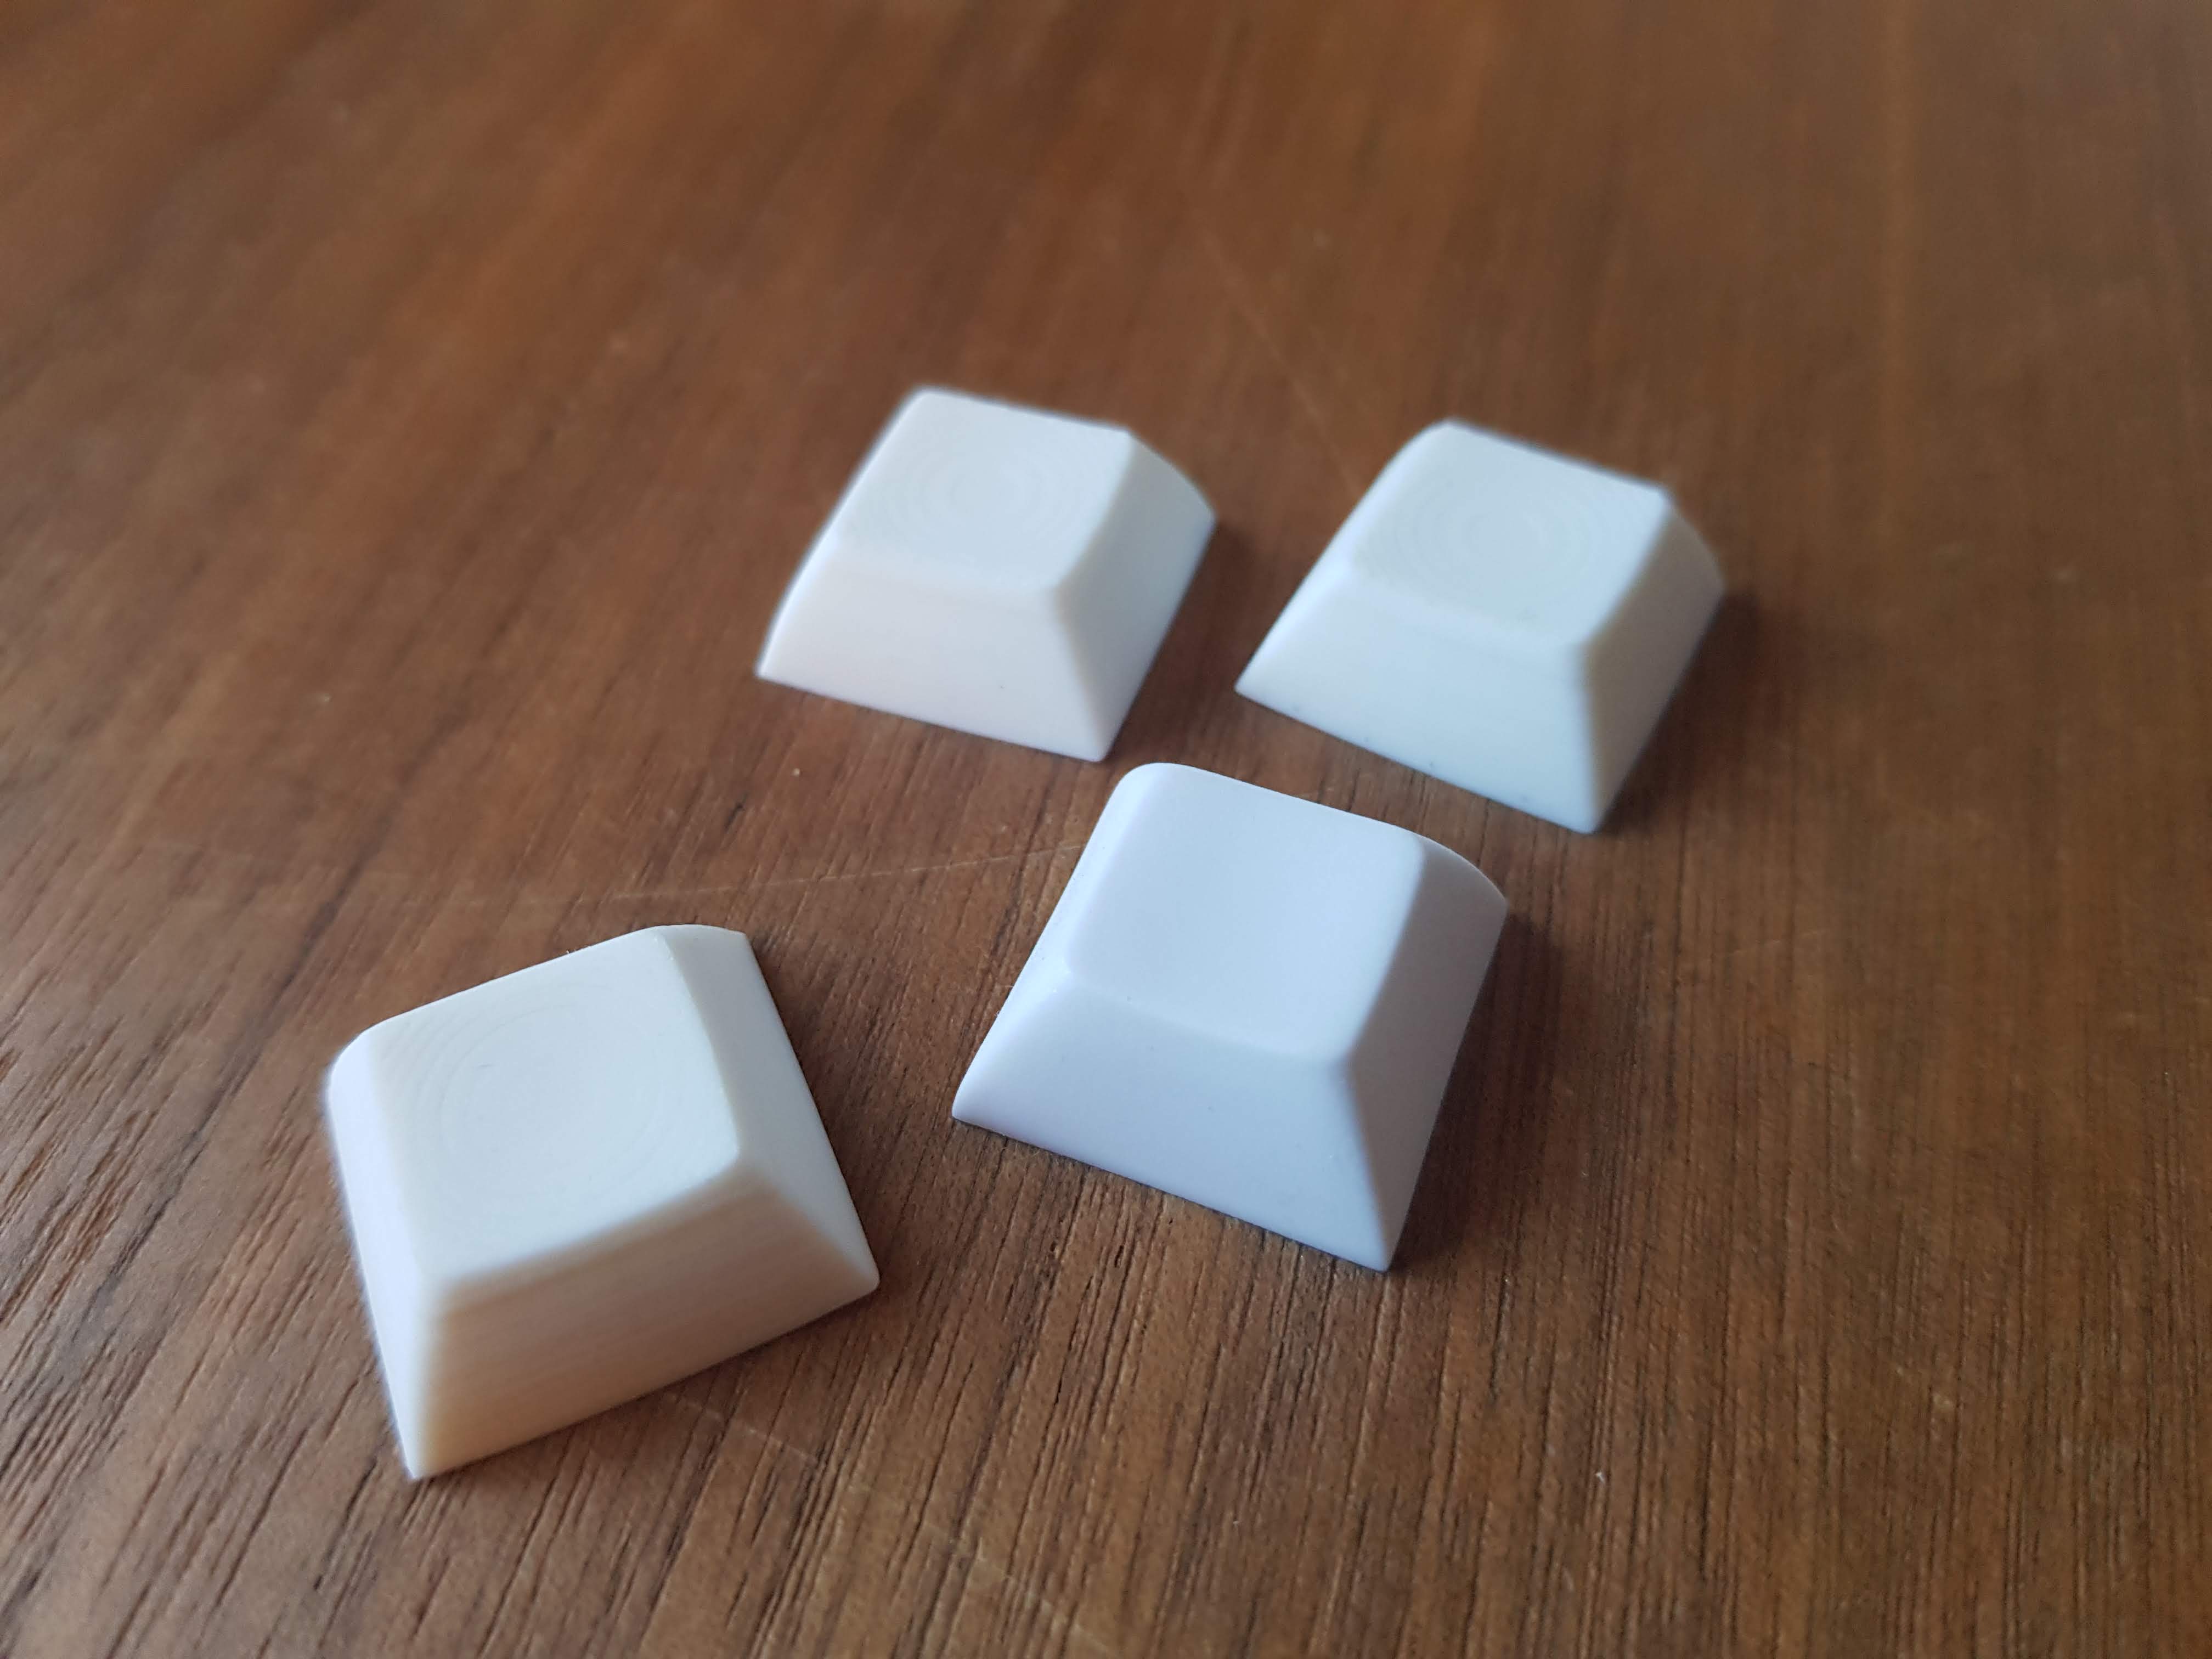
The issue: it seems like all my prints have a rotation of the stem, compared to the cap. It probably rather is the cross-shaped hole, or its walls, that are not completely symmetrical. I do not think it is only the edges against the printing bed that are the cause, since I have trimmed them with a scalpel. The rotation is always in the same direction.

The twist is detectable when watching the keycap with the switch, and more so with keycaps on switches on a keyboard plate (you can see that the edges of the caps do not align. They do in my CAD program): Bottom view with switch enter image description here

I use Cura as my slicer, layer height 0.06 mm, and ABS. I attempted a slow print (30 mm/s), which didn't help.

The first work-around that comes to mind is to measure the twist and compensate for that in my model. But I believe that since the problem is in the printing process, the problem would best be solved in the slicer.

What could possibly be the issue? Is there an option is Cura to compensate for this? Short of the work-around mentioned above, what are other steps I should look into?

Gauthier
  • 181
  • 4
  • 1
    This is a great first question. Welcome to the 3D Printing Stack Exchange site. – cmm Feb 25 '20 at 14:41

2 Answers2

1

This looks like a shift rather than a twist.

Looking closely at the "+" opening, it doesn't look as much twisted as it looks as if the top and bottom halves are sheared, with the top half shifted slightly right and the bottom shifted slightly left. The horizontal part of the plus seems aligned on the left and right halves.

When you press-fit the keycaps, you will "average" the displacement forces and the keycap will twist.

I am suspicious of a backlash problem in the X axis (left to right). Perhaps the belt isn't tight enough, or some part shifts differently. It could be in the rails, the belt, a loose drive pulley, the hot end being slightly loose on the carriage, or any uncontrolled movement. It could be a high-friction x-axis which causes spring wind-up in the drive system.

I recommend carefully examining the printer for any excess friction or movement, and taking action to fix that first before tweaking the model to compensate for what can not be fixed.

If it is a twist, use more cooling.

If the photos have misled me, and the vertical "+" shaft if actually twisting, you may need to use higher cooling. The drag of the filament as the head traces the perimeter can create a torque on the shaft, and if the plastic is not sufficiently cooled it could be dragged around. I consider this more of a theoretical problem than a real one, and have not yet seen it in practice.

This is a beautiful design

This is a wonderful application of 3D printing. With a multi-material printer it would be tempting to label the keys similar to old-style multi-shot keycaps.

cmm
  • 4,591
  • 14
  • 37
0

Another possibility is that those connectors you put in are pulling the cross-pattern off-center. Is there enough height that you could specify supports in that area instead? If so I'd recommend a brim "everywhere" to help stabilize the supports under the centerpost.

If there is sufficient clearance in the mechanism itself, consider expanding the diameter of the post (not the cross itself) to increase stability as the print is in progress.

Carl Witthoft
  • 3,073
  • 1
  • 12
  • 18